LD E-Form Filler User Manual
5. Installation of E-Form Filler
Prior to the installation of the E-Form Filler, please ensure you computer meets the system and software requirements. (Please refer to Section 2 and Section 3)
Installation Procedures
Note:
If you have installed E-Form Filler/Viewer before, please use "Control Panel"
![]() "Programs and Features" of the operating system to remove E-Form Filler/Viewer prior to your installation of E-Form Filler.
"Programs and Features" of the operating system to remove E-Form Filler/Viewer prior to your installation of E-Form Filler.
- Find E-Form Filler from the LD's related form webpage, the CD Rom or other media.
-
Double click the E-Form Filler icon to launch the installation program.

-
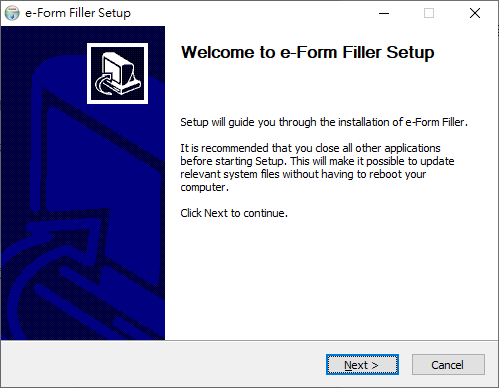
Installation wizard will be prompted to guide the installation. Click "Next" button.
-
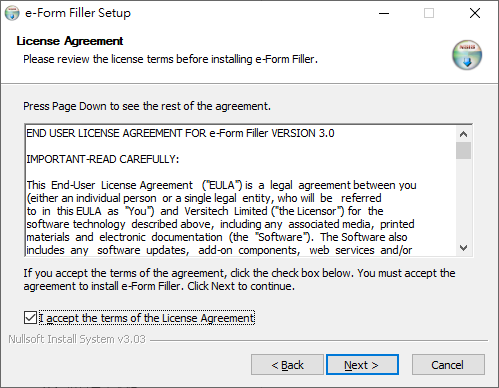
Select "I accept the terms of the license agreement" if you agree to accept the license agreement, then click "Next" button.
-
Select the installation type and click "Next" button.

-
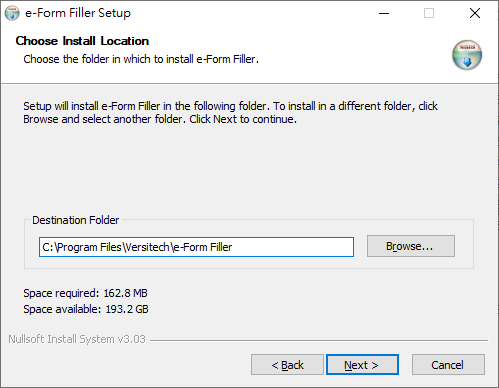
Choose the destination folder for installing E-Form Filler and click "Next" button.
-
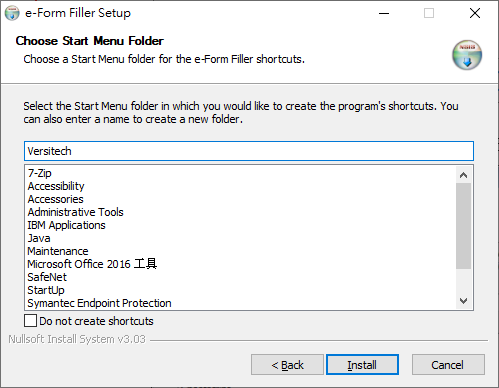
Click "Install" if the name of the destination folder showed in the "Program Folder" dialog box is correct. Installation will then commence shortly.
-
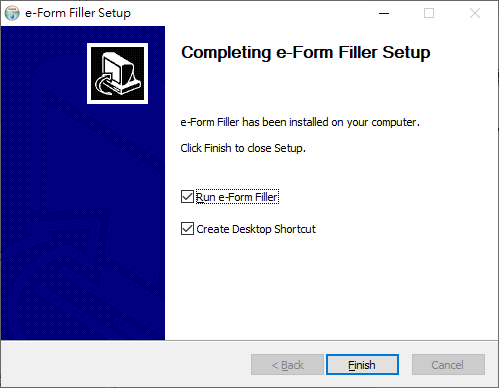
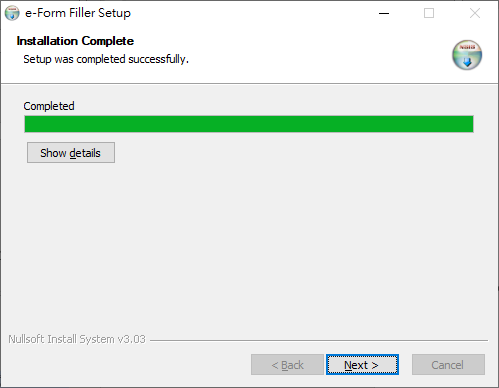
Soon, there will be a dialog box informing you that the installation has been completed, click "Next".
-
Click “Finish” to close the installation program.